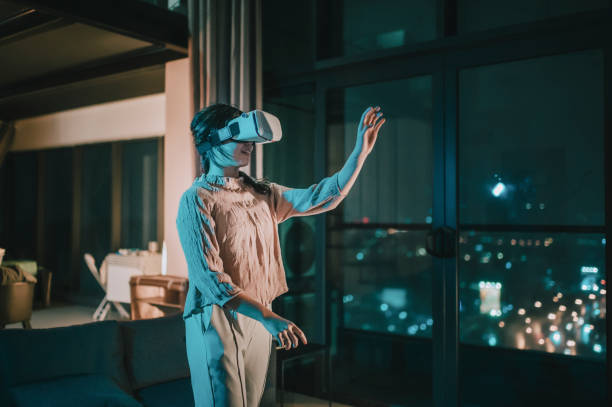
Setting up a Virtual Reality (VR) room is an exciting project that can immerse you in digital worlds like never before. To enjoy the full potential of VR, you’ll need the right equipment, ample space, and some technical know-how. This article will guide you through the steps to create your own VR room, ensuring a seamless and immersive experience.
Choosing the Right Space

Your first step in setting up a VR room is choosing the right space. Ideally, you want a room that is free of obstacles and has enough room to move around safely. Aim for a minimum of 6.5 feet by 5 feet of clear space. This will help ensure that you don’t accidentally bump into furniture or walls. Ensure that the room is well-ventilated and has appropriate lighting to avoid any discomfort.
Consider the room’s flooring as well; while carpet can provide some cushioning, it might make swiveling and quick movements more challenging compared to a hard floor. A dedicated VR space is best because you can leave your setup intact without needing to adjust the room’s layout frequently. Also, keep in mind the necessity for power outlets and cable management to avoid tripping hazards.
Essential VR Equipment
Selecting the right equipment is crucial for a top-notch VR experience. The essentials include a VR headset, controllers, and a powerful computer. Popular VR headsets like the Oculus Rift, HTC Vive, or PlayStation VR each offer unique features, so choose based on your specific needs and budget. Your PC should meet the minimum hardware requirements for the VR system you select; typically, this means a strong GPU, sufficient RAM, and a capable CPU.
In addition to the basic equipment, consider investing in additional accessories like motion trackers, sensors, and even VR gloves to enhance your experience. Ensure all devices are compatible and that you have the necessary ports and connections. Regular updates and driver installations are also essential to keep your equipment functioning optimally.
Setting Up and Calibration
Installation
Begin by installing your VR software according to the manufacturer’s instructions. This usually involves downloading specific software, connecting your headset to the computer, and plugging in your sensors or cameras. Follow the on-screen instructions for setup carefully to avoid any hiccups. Make sure you have installed all necessary drivers and updates.
Calibration
Calibrate your headset and controllers to ensure accurate motion tracking. This involves setting up base stations or sensors around your room at recommended heights and distances. Move through the calibration process by following the prompts on your VR software. Proper calibration is essential for a smooth and immersive VR experience, as it prevents disorientation and motion sickness.
Optimizing Your VR Space
Optimizing your VR space can significantly enhance your experience. Keep your room clutter-free to avoid any interruptions or accidents. Implement effective cable management; use cable sleeves or clips to keep cords organized and out of the way. You can also invest in wireless solutions to eliminate the hassle of cords altogether. Ensure your room has minimal reflective surfaces or bright lights that could interfere with sensors.
- Use blackout curtains to control lighting.
- Install soundproofing for better audio immersion.
- Position speakers or a surround sound system strategically.
- Regularly update your software to benefit from new features and improvements.
Proper ventilation is crucial; make sure your room doesn’t get too hot during extended VR sessions. Additionally, having a comfortable place to sit or take breaks will enhance your overall VR experience.
Maintaining Your VR Equipment
Maintaining your VR equipment will ensure longevity and consistent performance. Regularly clean your VR headset lenses with a microfiber cloth to avoid scratches and smudges. Wipe down the headset and controllers with a gentle antiseptic wipe to keep them germ-free. Pay attention to the wiring; periodically check for frays or damage, and replace any worn-out cables promptly.
Store your headset and controllers in a safe, dust-free environment. Use a headset stand or mount when not in use. Keep your VR software up to date to avoid bugs and enjoy new features. Regular maintenance checks can prevent technical issues and prolong the life of your equipment, ensuring you get the best possible VR experience every time.
Conclusion
Setting up a VR room requires careful planning and the right equipment, but the immersive experience is well worth the effort. Choose a suitable space, invest in quality VR gear, and take the time to calibrate and optimize your room. With regular maintenance, you can enjoy a seamless VR experience for years to come.
FAQs
1. What is the minimum space required for a VR room?
The minimum recommended space for a comfortable VR experience is around 6.5 feet by 5 feet.
2. Can I use VR on a laptop?
Yes, but make sure the laptop meets the VR system’s minimum hardware requirements, including a strong GPU and sufficient RAM.
3. What are some popular VR headsets?
Popular VR headsets include the Oculus Rift, HTC Vive, and PlayStation VR, each offering unique features and experiences.
4. How do I keep my VR lenses clean?
Use a microfiber cloth to clean your VR lenses to avoid scratches and smudges. Avoid using any harsh chemicals.
5. Is wireless VR better than wired VR?
Wireless VR eliminates cable management issues and offers greater freedom of movement, but it may require more frequent recharging and may be more expensive.


